Packaging Design Process: Steps, Timeline, and Prototypes
The packaging design process can be broken into eight steps: a brief, research, technical inputs such as the printer’s dieline and the required label copy, design concepts, revisions, the rest of the product line, prototypes and final checks, and print-ready files followed by proofs and printing. The design part, from kickoff to final files, usually takes two to three weeks at our studio. Getting from the first brief to a product on the shelf takes longer, because printing, materials, and approvals have their own lead times.
Most delays come from missing inputs: a dieline that changes halfway through, a nutrition panel that arrives after artwork is approved, or a decision-maker who sees the work for the first time in the last round. A good process puts those inputs at the start.
This guide walks through each step from the brand’s side: what happens, who leads it, what you need to provide, and what you get at the end. It also covers prototypes, the full timeline, and the common reasons projects slip. Our packaging projects are priced from $2,500 for the system and its first product.
The process at a glance
| Step | Who leads | What you provide | What comes out |
|---|---|---|---|
| 1. Brief | Brand | Goals, products, budget, decision-maker | A shared written brief |
| 2. Research | Designer, with the brand | Competitor photos, sales channels, buyer insight | A clear picture of the shelf and the gap |
| 3. Technical inputs | Brand, printer, co-packer | Dieline, material, print method, required copy | The structure every design must fit |
| 4. Concepts | Designer | Feedback from one decision-maker | Three design directions |
| 5. Revisions | Designer, with the brand | Consolidated feedback per round | One refined direction |
| 6. Line rollout | Designer | Copy and data for every SKU | Designs for all flavors and sizes |
| 7. Prototypes and checks | Brand, designer, reviewers | Regulatory review, printed samples | A design that works in real life |
| 8. Final files, proofs, printing | Designer, then printer | Approval, purchase order | Print-ready files, approved proof, finished packs |
Step 1: Write the brief
Every project starts with a document that answers a few basic questions: what you’re selling, to whom, where, at what price, how many products are in the line, what makes them different, what the packaging has to achieve, and who makes the final call. It also covers deliverables, the timeline, and the budget.
The brief is the reference point for every decision after it: when a concept is shown, the team judges it against the brief before personal taste. Without one, the first round of concepts becomes an expensive way to find out what the brief should have said. The packaging design brief guide includes a template and a filled-in example.
Two items in the brief deserve extra care. The first is the number of SKUs, because a design for one product and a system for twelve are different jobs. The second is the decision-maker. Projects with several people giving feedback and no one to settle disagreements are the ones most likely to run out of revision rounds.
Step 2: Research the shelf and the buyer
Before sketching, the designer needs to know what the product will sit next to. That means looking at the category in stores and online: which brands lead, what colors and formats are standard, how prices are signaled, and where there’s room to stand out.
The brand can speed this up a lot. Photos of your shelf at the retailers you sell in, links to your main competitors on Amazon or retailer sites, and anything you know about your buyers (reviews, sales data, the questions people ask at demos) all go into this step. If you sell in several channels, say so: a pack that works in a natural foods store may need a different emphasis on a club store pallet or a 300-pixel product tile.
Research ends with a short summary: the category conventions, the gap the design should take, and the few things the pack must communicate in the first seconds. That summary keeps the concepts focused.
Step 3: Collect the technical inputs
Brands often rush this step, and it causes a lot of rework later. The design has to fit a physical object made by a specific supplier, so several things need to be known before concepts start.
The dieline. A dieline is the flat template of the package from your printer or packaging converter. It shows the cut lines, folds, seals, glue areas, and the safe zone where text and important graphics must stay. Designing on a guess and switching to the real dieline later can move every element on the pack.
Material and print method. Paperboard, flexible film, labels on glass or plastic, and cans all print differently. So do the methods: offset, flexographic, and digital printing each have their own limits on fine lines, small type, gradients, and the number of colors. Ask your printer for their specifications, including the color system (process colors, spot colors, or both) and minimum sizes.
Required copy and data. For food, this includes the statement of identity, net quantity, ingredient list, allergen labeling when the product contains a major food allergen, Nutrition Facts (unless an exemption applies), plus who made or distributed the product and where (FDA calls this the name and place of business). For most packaged foods the rules are set by FDA (meat and poultry labels fall under USDA), and our guide to food label requirements covers them in detail. Alcoholic drinks, supplements, cosmetics, and household products each have their own rules. Having final or near-final copy at the start keeps the layout honest.
Barcodes. Every SKU needs its own GTIN and barcode. GS1 US is where US brands get these numbers, and it publishes size and placement guidance. A barcode shrunk below the allowed size or printed in low-contrast colors can fail at the register, so its size and position belong in the layout from the beginning.
Step 4: Explore concepts
With the brief, research, and technical inputs in place, the designer develops design directions. At SOTDESIGN we present three concepts. Each one takes a different route to the same goal: one might lead with typography, another with illustration, another with photography or color.
Each concept should be shown on the real dieline, at a size that lets you judge how it reads. We present each concept as a plain mockup of the pack, so you can compare the directions side by side.
Feedback at this stage works best when it refers back to the brief. “This one makes the flavor hard to find” or “this one looks too premium for our price point” helps the next round. “I don’t like green” usually doesn’t, unless green conflicts with something in the brief.
Step 5: Refine through revision rounds
After you pick a direction, the designer refines it. Our projects include three rounds of revisions. Each round works best when the brand sends one consolidated list of changes.
If five people send feedback separately, some of it will conflict, and the designer has to guess which version wins. One person collecting the comments, settling disagreements, and sending a single list makes each round count.
Revisions are for refining the chosen direction: hierarchy, colors, type sizes, the product image, claim placement. Changing the brief after the concepts arrive, such as adding new flavors, a new channel, or a different price point, isn’t a revision. It changes the starting point, and it usually means going back to concepts.
Step 6: Roll the design out across the line
Once the main design is approved, it becomes a system. The designer applies it to every flavor, size, and format in the line: changing the variant color, the product name, the image, and the back panel for each SKU while the brand block and layout stay fixed.
This step goes fast if the system was planned for it. That’s why the number of SKUs belongs in the brief: a design developed with future flavors in mind can absorb them, while one designed for a single product may need reworking when the second arrives. At SOTDESIGN, each additional SKU in an existing system is about $800. If you’re adding flavors or a new product type later, our guide to line extensions and brand extensions explains how the system handles them.
For each SKU, you provide the final copy and data: ingredients, Nutrition Facts, net quantity, claims, and barcode numbers. Errors at this stage are easy to make and expensive to print, so every panel needs a careful check before final files.
planning a new packaging line?
send us your products and your printer’s specs: fixed estimate in 1-2 business days, most projects reach final files in two to three weeks
get quoteStep 7: Prototype and check before you print
Before files go to the printer, the design should be checked in the forms that matter: on a real-size pack, in the hands of people who don’t know it, and against the rules that apply to the label.
Packaging prototypes and mockups
The words get mixed up, but they mean different things. A mockup is a visual: an image of the design on a pack, used to judge the look and share it with a team, a retailer, or investors. A prototype is a physical sample you can hold, open, and put on a shelf.
There are several kinds of prototypes, and most projects need only one or two of them:
- Desktop prints. The cheapest check. Print the artwork at actual size, cut it out, and wrap it around a blank box, can, or bottle. It shows type sizes, legibility, and how the front reads from a few feet away.
- Digital short-run samples. Many printers can produce a small number of real packs or labels on digital presses. They show the design on the actual material, which a desktop print can’t, though color can still shift when the run moves to a flexo or offset press.
- Structural samples. For a new box shape, insert, or pouch format, your converter can cut unprinted or plain samples so you can test how the pack folds, closes, fills, and ships.
- Pre-production samples. For complex or expensive packaging, the printer may produce a small run on the production equipment before the full order.
Use the prototype to test the questions the brief raised. Can a shopper find the flavor in three seconds? Does the product name survive on the smallest size? Does the pack stand out next to your top two competitors on a real shelf? A dozen conversations with real buyers and a prototype next to competitors on a shelf catch many of these problems.
Regulatory and claims review
The brand decides what the label says and answers for it. Before final files, have someone qualified review every panel: the required statements, the claims, the allergen information, and any certification marks such as organic or non-GMO, which have their own rules for use. For many small brands this is a food regulatory consultant or a food lawyer; larger brands have in-house reviewers.
Adding a claim late can force changes on the back panel too, so this review is cheaper before final files than after.
Proofreading
Read every word on every SKU, including the small print, ideally by someone who didn’t write it. Check the net quantity on each size, the barcode number on each SKU, and the address. A typo on 20,000 printed cartons costs the whole run.
Step 8: Prepare final files, approve proofs, and print
Print-ready files
Final files are prepared to the printer’s specifications. That usually means artwork placed on the dieline, colors set up the way the printer asked (process colors, spot colors such as Pantone, or both), bleed beyond the cut lines, text kept inside the safe zone, fonts outlined or embedded, and images at the required resolution. Some print methods also need trapping or a white underlayer for clear or metallic materials, which the printer will specify.
At SOTDESIGN, we deliver print-ready files built on your supplier’s dielines, plus the source files and mockups. We don’t print or manufacture, so the choice of printer stays with you.
Proofs
Before printing, the printer sends a proof. A digital proof checks content and layout. A color proof, printed on a calibrated system or on the actual material, checks color. Read the proof as carefully as you read the final design: printers sometimes adjust files for their process, and the proof is the last point where changes are cheap.
For large runs or color-critical work, some brands attend a press check, where the first printed sheets or rolls come off the press and the brand or designer approves color on the spot.
Production
After you approve the proof, the printer schedules the run. Lead times depend on the printer, the material, the quantity, and the season. Cartons, flexible pouches, and labels each have their own schedules, and a new structure or special finish adds time. Ask your printer for a realistic date before you promise a launch to a retailer.
How the process changes by format
Labels
A label is printed flat and applied to a bottle, jar, can, or tub, so the design has to work on a curve. The front that shoppers see at once is often only a third of the label’s width, and the rest wraps out of view. Labels are usually printed on roll presses, often digitally for smaller runs, which makes short runs and many SKUs affordable. The printer will specify the label size, the corner radius, the unwind direction, and whether the label needs a white base on clear film.
Folding cartons
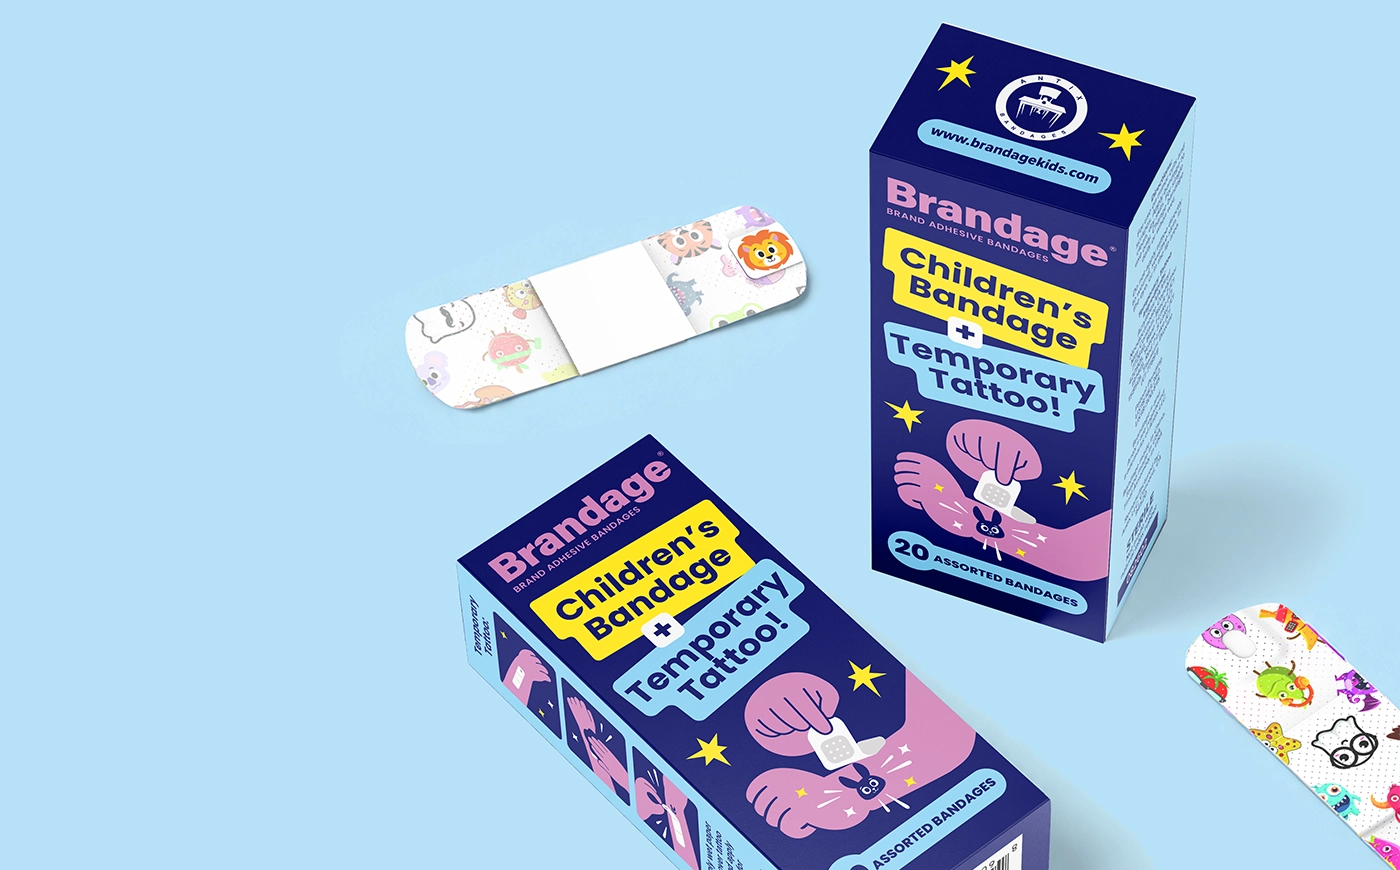
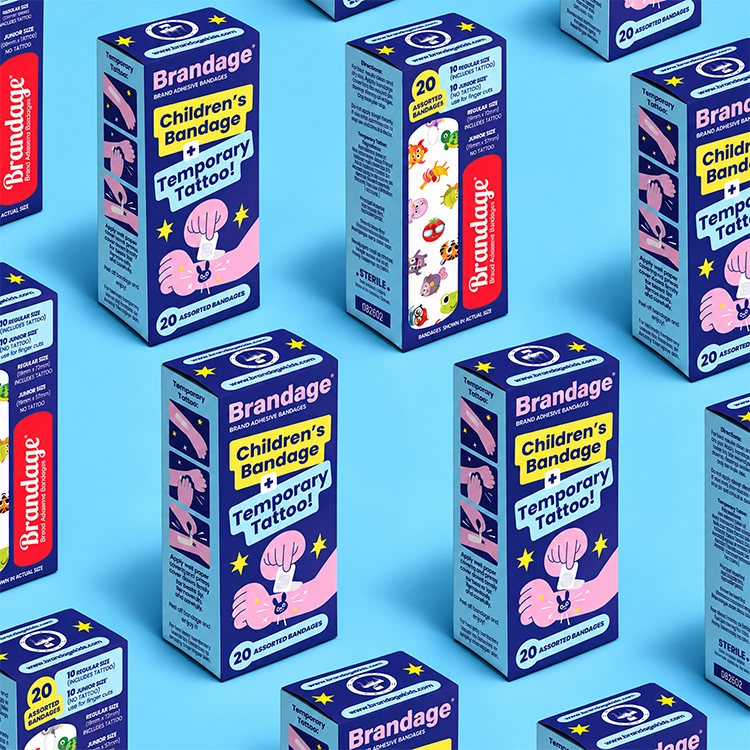
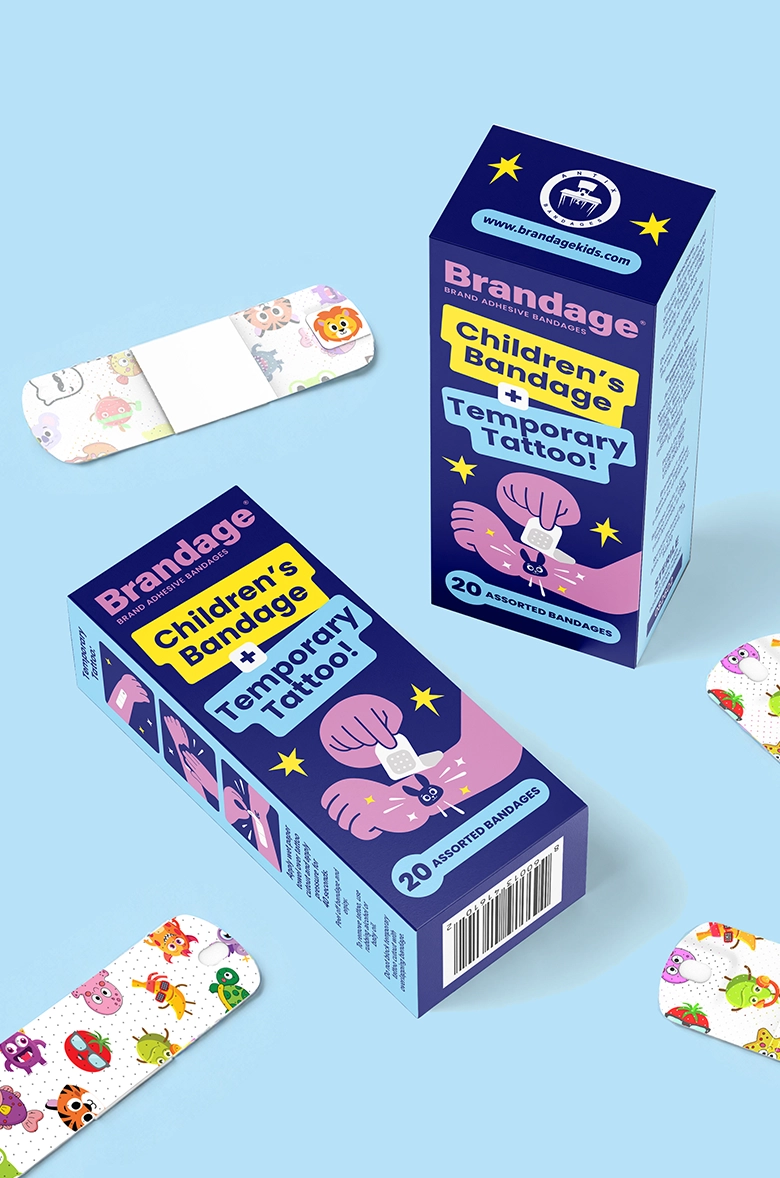
A carton has six or more panels, and a shopper can see two or three of them on a shelf. The process needs an early decision about which panel faces out: on a narrow shelf the side panel may be what people see first. On the Brandage children’s bandage box we designed, the front carries the name, the two product messages, and the count, while the side panels hold illustrated steps for the temporary tattoos and the required details. Cartons are usually printed offset or digitally, and finishes like embossing, foil, or spot varnish are added during production, sometimes on separate equipment, and the files have to show each one on its own layer.
Flexible pouches and bags
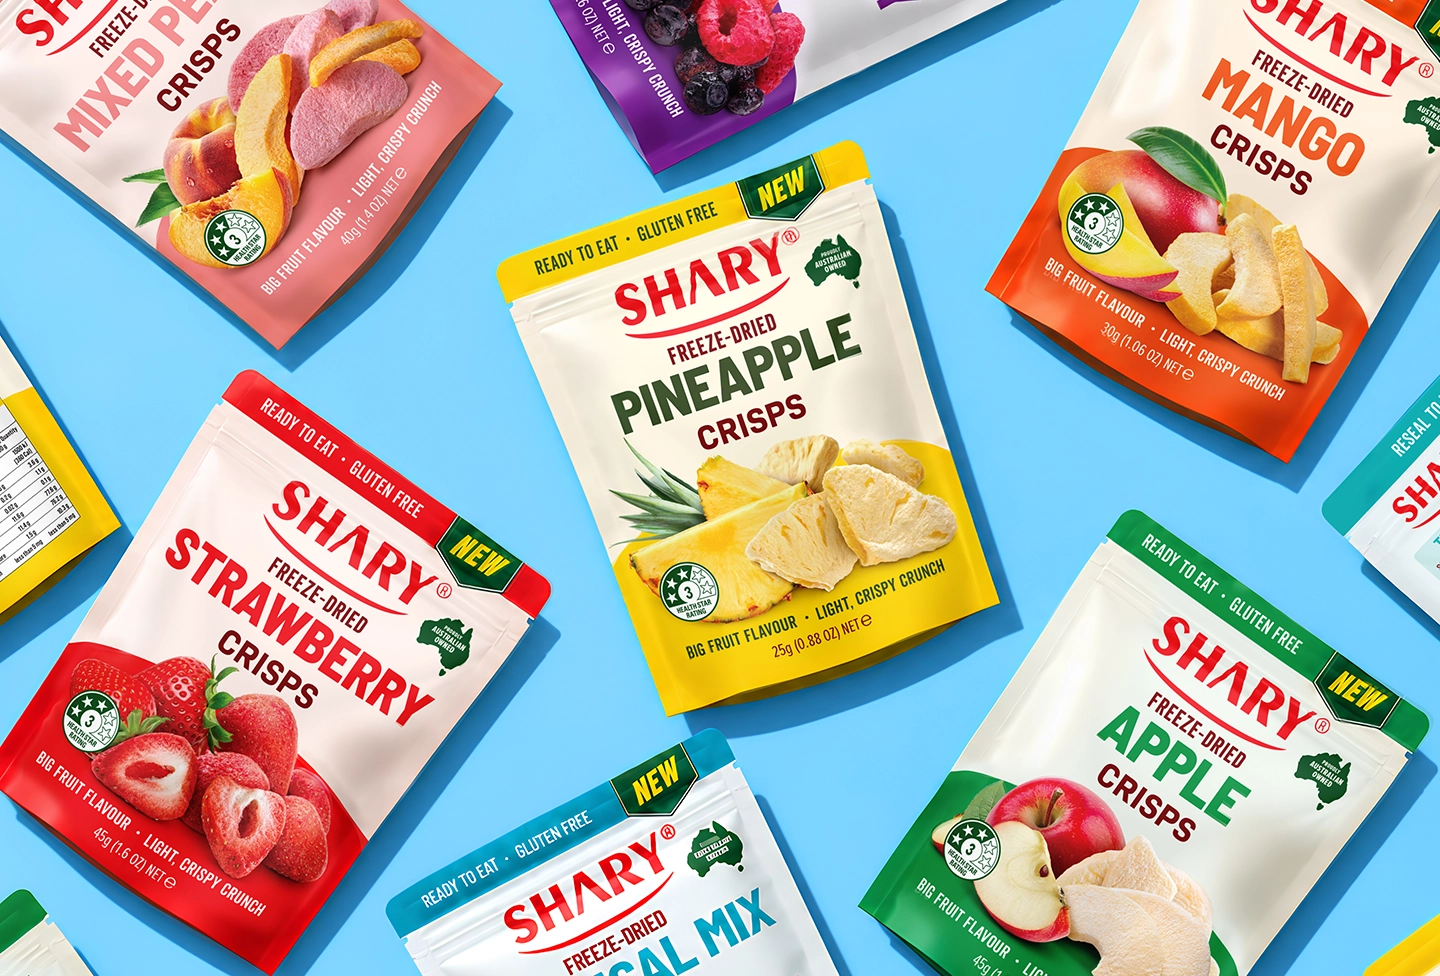
Pouches and bags are printed on film, often by flexographic or rotogravure printing, sometimes digitally. Film stretches and shifts slightly in printing, so very fine type, thin lines, and tight registration between colors are risky. The seals, the zipper, the tear notch, and the gusset all take space from the artwork. A filled pouch also looks different from the flat file, because the front bulges and the top folds, so a prototype on a filled bag is worth more here than on any other format.
Printed cans
Conventionally printed aluminum cans have a limited number of colors, their own rules for gradients and white ink, and minimum orders measured in truckloads. Many smaller brands use shrink sleeves or pressure-sensitive labels on blank cans instead, which allow full color and short runs, and digital printing directly on cans is a newer short-run option. Either way, the design has to read as the can turns.
Structural design and graphic design
Packaging design has two sides that often run in parallel. Graphic design is what’s printed on the pack: the logo, type, color, images, and information. Structural design is the shape itself: the box style, the insert that holds the product, the window, the closure, the way the pack opens.
Most small food and beverage brands use a standard structure from their supplier, such as a stock pouch, a standard carton style, or a common bottle, and focus the budget on graphics. That’s usually the right call for a first launch, because custom structures add tooling, testing, and lead time.
A custom structure makes sense when the shape itself is part of the brand, when the product needs special protection, or when a gift or premium line needs an unboxing moment. In that case the structural work starts earlier, the converter builds samples, and the graphic design follows the approved structure. We design the graphics and build the files on the dieline your supplier provides.
How to give feedback that keeps the project moving
A few habits make each round count:
- Look at the design at real size and on a shelf mockup before commenting. Many problems that look big on a monitor disappear at real size, and some small ones become obvious.
- Describe the problem and let the designer solve it. “The flavor name gets lost next to the logo” gives the designer room to find the best fix; “make the flavor name red” may fix one thing and break another.
- Separate must-fix items from preferences. Legal copy, wrong information, and brief mismatches come first; taste comes last.
- Send one list per round from one person. If you have several reviewers, collect their notes, settle conflicts inside your team, and then send.
- Say what’s working too. If a direction or detail is right, saying so keeps it from being changed by accident in the next round.
Photography and illustration in the process
Many packs depend on a product photo or an illustration, and these have their own schedule. If the design calls for product photography, plan the shoot after the concept is chosen and before final files, so the photographer knows the angle, the crop, and the background the layout needs. Shooting first and designing around whatever images exist usually leads to compromises.
Illustration follows the same rule. The designer or illustrator develops the style during concepts, then finishes the artwork for each SKU after the direction is approved. For a large line, plan the illustration time per SKU, because it often takes longer than the layout.
Stock images can work for some elements, like backgrounds or ingredients, but check the license for packaging use. Many standard licenses limit print runs or product use, and an image used by a competitor’s pack is a real risk on a crowded shelf.
Redesigning existing packaging versus designing a new product
For a new product, research and concepts carry most of the weight. There’s nothing to protect yet, so the team can explore freely, and the main job is to create a look that explains the product and stands out in its category.
For a redesign of packaging that’s already selling, the first task is deciding what stays. The logo shape, the main color, a character, or the layout may be what regular buyers use to find you, and removing them can cost sales. In a redesign, the brief should list these recognition assets and say which ones are fixed, and testing the new pack against the old one with real buyers is worth more than in a new launch. A redesign also needs a rollout plan: retailer notice, a transition period when old and new packs share the shelf, and often a small “new look” flag for regular buyers.
Approvals and sign-off
At three points in the process, someone on the brand side should give a clear written approval: the chosen concept, the final design of each SKU, and the printer’s proof. Each approval should come from the decision-maker named in the brief, after the regulatory reviewer has checked the copy where that applies.
Written sign-off sounds formal for a small team, but it prevents the most expensive kind of mistake: a change made after approval that nobody checked again. A short email that says “approved, SKU 3 final” is enough.
How long the packaging design process takes
For the design itself, a typical project of ours needs two to three weeks between the kickoff call and final files, assuming the brief and technical inputs are ready and feedback comes back promptly. A single label is faster; a large line with many SKUs or a new structure takes longer.
The full path from the first brief to packs on a shelf is longer, and most of that time sits outside the design studio:
| Phase | What sets the time |
|---|---|
| Brief and inputs | How quickly you can confirm products, copy, dielines, and the decision-maker |
| Design: concepts, revisions, rollout | About two to three weeks at our studio for a typical project |
| Regulatory review and proofreading | Your reviewer’s schedule and the number of SKUs |
| Proofs and samples | The printer’s proof turnaround and any sample runs |
| Printing and delivery | The printer’s lead time, the material, the quantity, and shipping |
| Retail setup | Retailer timelines for new items, which are often planned months ahead |
If you’re launching into a retailer with a set date, work backward from that date, and confirm the printer’s lead time first. It’s often one of the longest items on the list.
Can the process go faster? Some steps can overlap. Research can run while the printer prepares dielines, the regulatory reviewer can check copy while revisions continue, and the printer can quote and schedule before final files are ready. What usually can’t be compressed is the time people need to give considered feedback and the printer’s production slot. If a deadline is tight, say so in the brief, so the schedule is planned around it from the first day.
Who does what
Packaging is a team project, and many delays come from unclear roles. On a typical CPG launch:
- The brand owns the strategy, the brief, the product information, the copy, final approvals, and legal responsibility for the label.
- The designer turns the brief into concepts, refines them, builds the system, and prepares print-ready files.
- The printer or converter supplies the dieline and specifications, produces proofs and samples, and prints.
- The co-packer or manufacturer, if you use one, confirms fill sizes, line requirements, and sometimes the material.
- A regulatory reviewer checks the required statements and claims.
- A photographer or illustrator, when needed, creates product images or artwork to the designer’s direction.
- The retailer’s buyer, for new listings, sets the dates for item setup and sometimes has packaging requirements of their own, such as case packs, shelf-ready trays, or barcode placement.
Write these names into the brief. When everyone knows who answers which question, decisions stop waiting on the wrong person.
Why packaging projects slip
Packaging projects usually slip for practical reasons:
- The printer’s dieline arrives late or changes after concepts are approved.
- Nutrition panels, ingredient lists, or claims arrive after the artwork is approved.
- A new decision-maker sees the work for the first time in the last revision round.
- The brief changes mid-project: a new flavor, a new retailer, a new price point.
- Feedback comes from several people separately and conflicts.
- Barcodes haven’t been assigned yet.
- Product photography is scheduled after the design is finished.
Each of these is easy to settle at kickoff. A short kickoff call that goes through the brief, the inputs, and the decision-maker prevents most of them.
How to choose who runs your packaging process
You can work with a design studio, a freelancer, or an in-house designer, and each can do good packaging. What matters is whether they’ve run this process before, end to end, with real printers. A few questions show it quickly:
- How do you handle dielines, and at what point do you start using the printer’s template?
- How many concepts and revision rounds are included, and what counts as a revision?
- Who checks the required copy and the barcode sizes, and what do you expect from us?
- Can we see packaging you designed that has actually been printed and sold?
- What exactly do we receive at the end: print-ready files per SKU, source files, mockups?
- How do you price additional SKUs once the system exists?
Clear answers here tell you more than portfolio images alone. A beautiful concept that doesn’t fit the dieline, or files a printer rejects, costs more time than any step in this guide.
What happens after launch
A few follow-ups make the next round easier and cheaper.
Watch how the pack performs. Sales by SKU, retailer feedback, reviews, and photos of the pack on real shelves show what works and what gets lost. If one flavor underperforms, check whether shoppers can find it before assuming the product is the problem.
Keep the files organized. Store the final print files, the source files, the dielines, and the approved proofs for each SKU in one place with clear version names. When a nutrition panel or a claim changes, the update starts from the right file, and the new version doesn’t accidentally reuse old copy.
Plan the next SKUs inside the system. New flavors, sizes, and seasonal editions are cheaper and faster when they follow the existing layout and color code. A short note in the brand guidelines about how the system extends saves a lot of explaining later.
Review the packaging every few years, or sooner if a reformulation, a new retailer, or a rule change forces artwork updates anyway.
What you should prepare before you start
Having these ready before kickoff makes the process faster and the quote more accurate:
- A written brief with goals, products, channels, budget, and the decision-maker.
- The list of SKUs, with sizes and formats.
- Your printer or converter, or at least the planned pack format and material.
- Dielines for each format, or a request already sent to the printer.
- Draft copy and data for each SKU: product name, ingredients, Nutrition Facts, net quantity, claims.
- Barcode numbers, or a GS1 US company prefix or individual GTINs to assign them.
- Your existing brand assets: logo files, brand colors, fonts, photography.
- Photos of your shelf and links to your main competitors.
What the process costs
The cost depends mostly on the number of SKUs, whether you need a logo, and how complex the formats are. For price ranges and the factors behind them, see how much packaging design costs.
Through our packaging design services, the system and its first product start at $2,500. Adding a SKU to the system costs about $800, and a new logo, if you need one, about $1,500. Launching a new brand with a logo and three products therefore runs about $5,600 ($1,500 for the logo, $2,500 for the system and first product, and 2 × $800). A volume discount kicks in at ten SKUs, and a ten-SKU line typically totals about $8,000. Three concepts and three revision rounds are included in every new packaging system. Send the brief, and the fixed estimate comes back within 1-2 business days. Printing, materials, and regulatory review are separate costs paid to those suppliers.
Our studio is based in Albany, New York, and works with consumer brands across the US. In 10+ years we’ve completed 80+ packaging projects.
ready to start your packaging project?
send us your brief or just your product list: fixed estimate in 1-2 business days, design only, you choose the printer
get quoteFAQ
01 What are the steps of the packaging design process?
A typical process has eight steps: write the brief, research the shelf and the buyer, collect technical inputs such as the dieline and required copy, develop concepts, refine the chosen direction through revisions, roll the design out across all SKUs, prototype and review, and prepare final files for proofing and printing.
02 How long does packaging design take?
At SOTDESIGN, the design work itself usually fits into two to three weeks. The full path to a product on the shelf takes longer because of regulatory review, proofs, and the printer’s production lead time, which is often one of the longest steps.
03 What is a packaging prototype?
A physical sample of the package used to test it before printing the full run. It can be as simple as a desktop print wrapped around a blank box or as close to production as a short digital run on the real material.
04 What’s the difference between a mockup and a prototype?
A mockup is an image of the design on a pack, used to judge and share the look. A prototype is a physical sample you can hold, open, and put on a shelf. Most projects use mockups during design and at least one physical prototype before printing.
05 What is a dieline and who provides it?
A dieline is the flat template of the package showing cut lines, folds, glue areas, and the safe zone for text. Your printer or packaging converter provides it, and the design should be built on it from the start.
06 How many revisions are included in a packaging design project?
It depends on the studio. At SOTDESIGN, every new packaging system includes three concepts and three rounds of revisions on the chosen direction.
07 What is the first step in packaging design?
The brief. Before any sketching, write down what you’re selling, to whom, where, how many SKUs the line has, what the pack must achieve, and who makes the final decision. Everything after that is checked against it.
08 Can I skip prototypes?
You can skip the expensive ones. Keep the simplest. Printing the design at actual size and wrapping it around a blank pack takes an hour and catches type that’s too small, a front that doesn’t read from a few feet away, and panels that fold in the wrong place. For a new structure or a color-critical design, a sample on the real material is worth the extra cost.
09 What should I send a packaging designer to get a quote?
The list of products and sizes, the pack formats, whether you need a logo, your printer or planned material if you know it, a few competitor examples, and your launch date. A short brief is enough for a fixed estimate; dielines and final copy can come later, before design starts.
10 What files do I get at the end?
Print-ready files for each SKU built on your supplier’s dielines, plus the source files and mockups. They’re prepared to your printer’s specifications, and you choose the printer.